Secure connections are key to a stable structure when attaching trusses to the top plate. Properly fastening the trusses brings the overall integrity of your building. Here, we will discuss the best methods for attaching trusses to the top plate, using the correct tools and techniques.
Why Secure Trusses Are Essential
The connection between the trusses and the top plate supports the roof’s load and prevents structural movement. A secure attachment assures that the trusses won’t shift underweight or environmental stress.
Simpson Strong-Tie Connectors
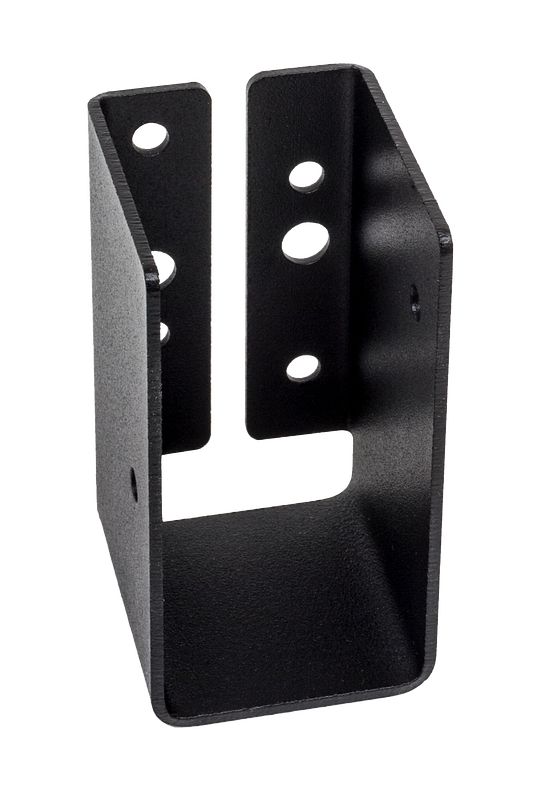
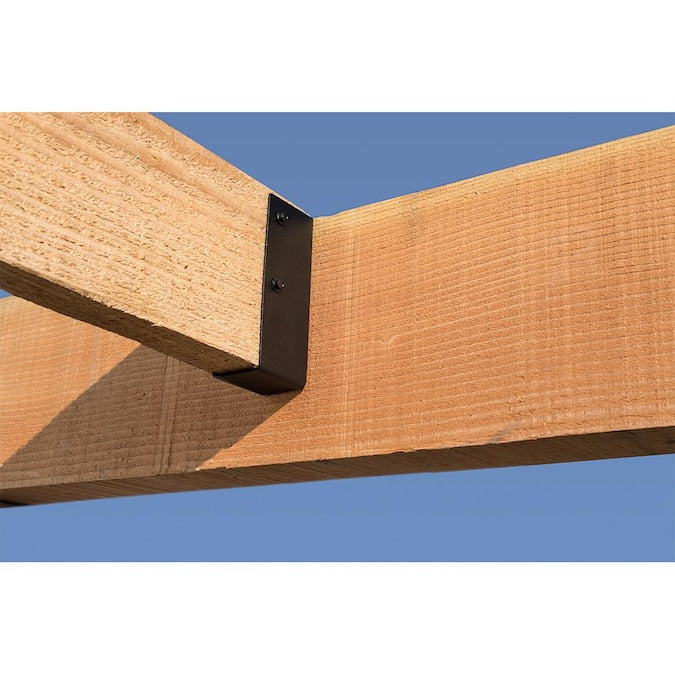
One of the best ways to attach trusses to a top plate is by using Simpson Strong-Tie connectors. These metal connectors help reinforce the connection points, adding extra stability. Simpson Strong-Tie products come in various shapes and sizes, guaranteeing they fit different trusses.
To install Simpson Strong-Tie connectors, you must carefully align them between the truss and the top plate. After positioning, fasten the connectors with approved screws or nails. Make sure the connections are flush to prevent gaps.
Using Screw Anchors and Bolts
Screw anchors and bolts are another reliable method for attaching trusses to the top plate. These fasteners create strong, lasting bonds between materials. Start by drilling pilot holes in the truss and top plate. The screw anchors are then inserted into the pre-drilled holes, followed by the bolts.
Screw anchors are known for their strength and resistance to loosening. This makes them ideal for withstanding tension, pressure, and lateral forces, such as wind or seismic movement. However, always choose the correct size and type for your building’s load requirements.
Brackets and Clips
Brackets and clips are additional options for securing trusses to the top plate. These components provide added support and distribute the weight of the roof evenly. They are typically made from galvanized steel to prevent rust and corrosion.
When installing brackets, follow the manufacturer’s instructions for placement and fastening. They should be positioned on both sides of the truss for balanced support.
Nail Fasteners
Nail fasteners are commonly used for truss installation. However, they may not offer as much strength as metal connectors or screw anchors. For light structures, nails can be sufficient.
But for buildings with heavier loads, it’s better to combine nails with other fasteners, like Simpson Strong-Tie connectors or bolts. Make sure the nails are driven straight into the top plate and trusses. Angled nails can weaken the connection and cause the truss to shift over time.
Common Mistakes to Avoid
When attaching trusses to the top plate, avoid the following mistakes:
- Overtightening bolts or screws: This can cause the wood to split, weakening the connection.
- Using incorrect fasteners: Use fasteners rated for the load requirements of your structure.
- Improper alignment: Misaligned trusses can create gaps that affect the stability of the building.
Proper Spacing and Placement
When installing trusses, guarantee that the spacing between each truss is consistent. Standard spacing is usually 24 inches in center, varying depending on your design. The top plate should be level, with the trusses spaced evenly and properly aligned.
The correct placement of fasteners is also important. Place fasteners in pre-drilled holes if needed, so they are evenly distributed. Avoid clustering fasteners, as this can cause the wood to weaken.
By following these best practices, you can avoid common mistakes and maintain the integrity of your project. For all your building material needs, we at Factory Direct Supply offer a wide selection of trusted tools and materials to help you do the job right.


