Expanding your outdoor living area can be a fulfilling project that adds both beauty and functionality to your home. One excellent way to achieve this is by building a pergola on a deck. A pergola not only provides shade and a cozy ambiance but also serves as an architectural element that can transform your deck into a stylish and inviting space. If you're considering adding a pergola to your deck, this step-by-step guide will walk you through the process, helping you create an attractive and functional outdoor retreat.
Planning and Preparation
Before you embark on your pergola-building journey, careful planning is essential. Start by determining the ideal location for your pergola on the deck. Consider factors such as sunlight, wind direction, and the overall layout of your outdoor space. Once you've chosen the perfect spot, check with local authorities or homeowner associations to ensure compliance with any building codes or regulations.
Gather Materials and Tools
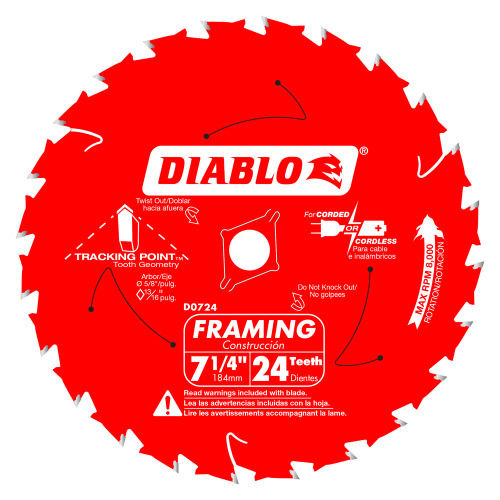
With your plan in place, it's time to gather the necessary materials and tools. Your list will typically include:
Measure and Mark
Accurate measurements are crucial for a successful pergola installation. Use a measuring tape and level to mark the locations of the posts on your deck. Make sure the measurements are consistent and that the markings are aligned perfectly.
Install the Posts
Attach post anchors to the deck surface where you've marked the post locations. These anchors will provide stability and support for your pergola. Carefully place the posts into the anchors and secure them tightly. Double-check the alignment and use a level to ensure they are perfectly vertical.
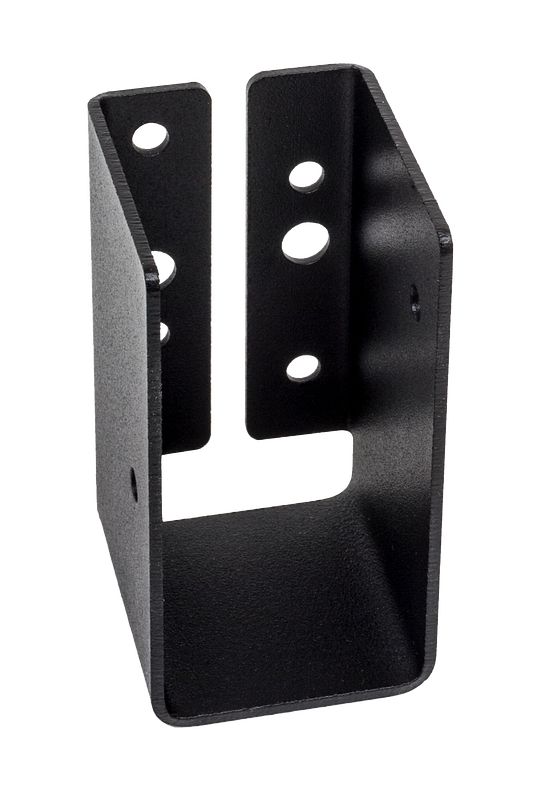
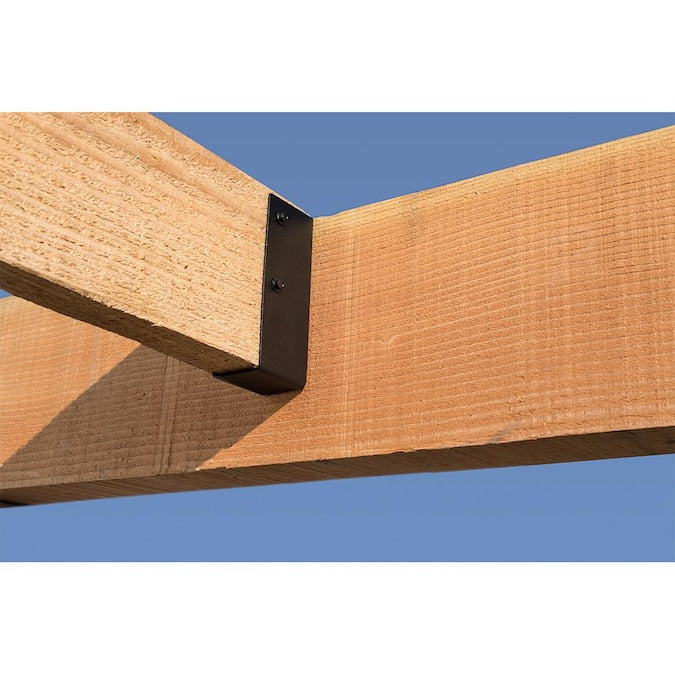
Attach Beams and Rafters
Once the posts are securely in place, it's time to attach the beams and rafters that will form the roof of your pergola. Measure and cut the beams to the desired length, ensuring they extend evenly beyond the posts. Attach the beams using sturdy brackets and screws, creating a solid foundation for the roof structure. Next, install the rafters across the beams, spacing them evenly and securing them with fasteners.
Add Shade and Style
The beauty of a pergola lies in its open-roof design, which allows you to customize the amount of shade you desire. You can install slats perpendicular to the rafters, creating a beautiful pattern that provides partial shade while allowing some sunlight to filter through. This design also adds a touch of elegance to your pergola, enhancing its visual appeal.
Finishing Touches
To ensure your pergola is not only functional but also visually appealing, take time for some finishing touches. Sand down any rough edges or surfaces, and consider staining or painting the wood to match your deck or house's aesthetics. Adding climbing plants such as vines or flowers around the posts can further enhance the charm of your pergola.
Furnish and Enjoy
With your pergola complete, it's time to furnish and enjoy your newly created outdoor space. Add comfortable seating, outdoor cushions, and perhaps a dining area to make the most of your pergola-covered deck. Whether you're hosting gatherings, enjoying quiet mornings, or simply unwinding after a long day, your pergola will undoubtedly become a favorite spot.
Building a pergola on a deck is a rewarding project that can transform your outdoor space into a haven of comfort and style. By following this step-by-step guide, you'll be well-equipped to tackle the construction process and create a pergola that not only adds value to your home but also provides a relaxing retreat for years to come. Remember to plan meticulously, gather quality materials, and take your time throughout each stage of the process. Your efforts will be well worth it when you're basking in the shade of your beautifully crafted pergola.