Building a truss roof is a fundamental process in residential and commercial construction. Whether you're constructing a new building or renovating an existing one, understanding the steps involved in building a truss roof ensures a durable and stable structure.
This guide will walk you through the process, offering detailed insights and practical advice on how to build a truss roof effectively.
- Step 1: Planning and Preparing the Truss Design
The foundation of any successful truss roof lies in meticulous planning and design. Before construction begins, ensure that the truss design is tailored to the building's specific requirements. This involves calculating the load, considering factors such as roof pitch, span, and the type of materials used.
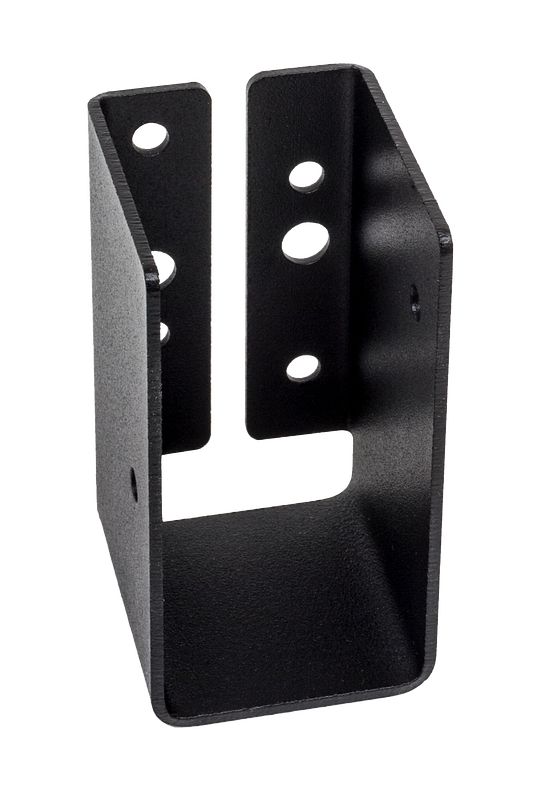
An accurate truss design minimizes errors and ensures the roof's long-term stability. During this phase, you’ll need to select appropriate materials, including Simpson Strong-Tie connectors, which provide essential support and durability.
- Step 2: Gathering Materials and Tools
Once your design is finalized, it's time to gather the necessary materials and tools. For a successful build, you’ll need high-quality lumber, Simpson Strong-Tie connectors, screws, nails, and other essential hardware.
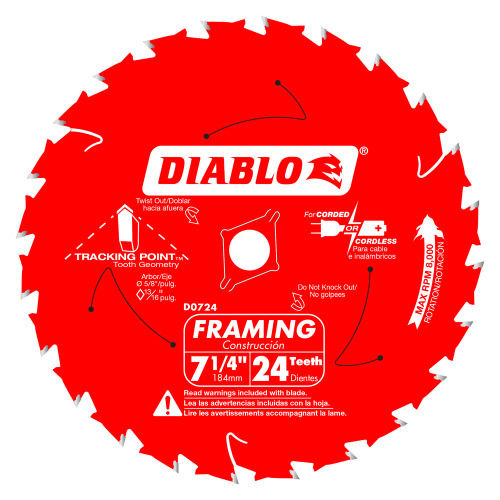
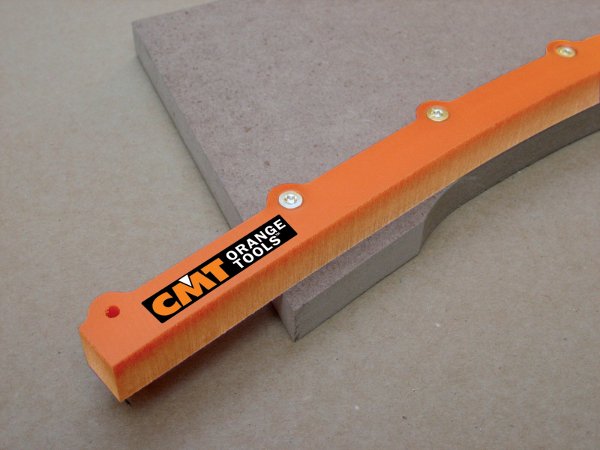
Additionally, having the right tools, such as saws, hammers, and levels, is critical for precise construction. The choice of materials directly impacts the strength and longevity of the truss roof, so ensure you opt for durable, high-quality components that meet industry standards.
- Step 3: Assembling the Truss
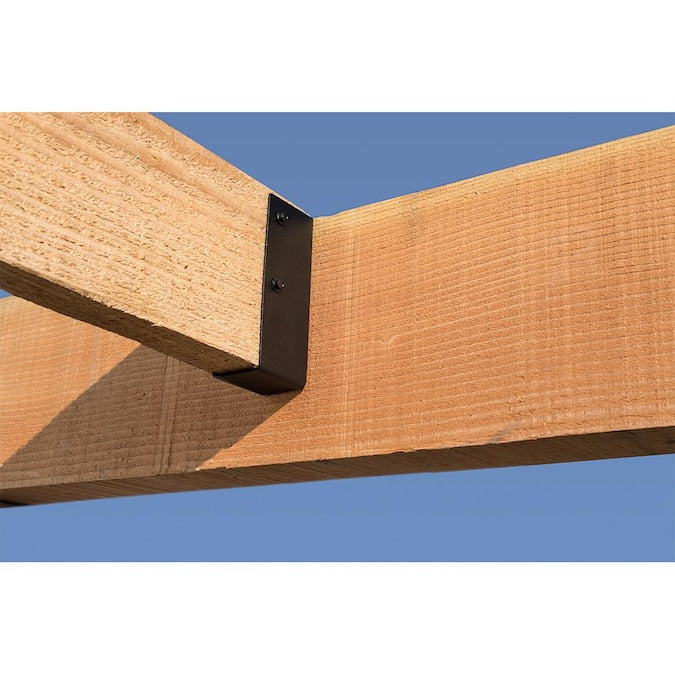
With materials in hand, the next step is the assembly of the truss. Lay out the lumber on a flat surface and begin constructing the truss according to the design specifications. Connect the pieces using Simpson Strong-Tie connectors, screws, and nails to ensure a strong bond.
Careful alignment is crucial during assembly, as even minor deviations can compromise the roof's structural integrity. Take your time to double-check measurements and connections to avoid costly mistakes down the line.
- Step 4: Installing the Truss Roof
After assembling the trusses, it’s time to install them on the building framework. This step requires precision and teamwork, as the trusses must be lifted and positioned correctly. Begin by placing the first truss at one end of the building, securing it with temporary supports.
Continue installing each truss, ensuring even spacing and alignment across the entire roof. Once all trusses are in place, secure them firmly using screw anchors and bolts to enhance the roof's stability and resistance to external forces.
- Step 5: Securing and Finalizing the Roof
The final step in building a truss roof is securing and finishing the structure. Once all trusses are installed, reinforce the roof with additional Simpson Strong-Tie connectors at key points, ensuring the trusses are firmly anchored.
Install the roof decking, followed by the chosen roofing material, whether shingles, metal sheets, or tiles. This step requires careful attention to detail to ensure the roof is weatherproof and capable of withstanding various environmental conditions.
A Truss Roof Built to Last
Building a truss roof is a complex process that requires careful planning, quality materials, and skilled execution. By following these five steps, you can construct a truss roof that is not only strong and durable but also aesthetically pleasing.
At Factory Direct Supply, we understand the importance of quality and reliability in every construction project. That’s why we offer a wide range of building materials, including Simpson Strong-Tie connectors, screws, nails, and more.