When nature unfurls its fury in raging hurricanes, it becomes paramount to shield homes and buildings from potential devastation. One such protective measure that has gained traction over the years is the installation of hurricane clips. As an anchor between roofs and walls, these clips play an instrumental role in preventing roof uplift. Understanding the correct way to install hurricane clips is essential if you want an extra layer of protection. Here's a comprehensive guide to help you through the process.
Preparation: Gather the Necessary Materials and Tools
Before initiating the installation process, it's vital to have the right tools at hand. Typically, you'll need hurricane clips, a hammer or nail gun, galvanized nails, and safety gear like gloves and goggles. Additionally, familiarize yourself with the manufacturer's guidelines for the clips. These often provide invaluable advice tailored to the specific clip type.
Positioning: Identify the Correct Placement
For hurricane clips to serve their purpose, correct placement is crucial. Begin by inspecting the areas where the trusses or rafters meet the wall's top plate. This junction is where the clips will be attached. Ensure the surface is clean and free from debris, as this could hinder a secure attachment.
Securing the Clip: Align and Nail
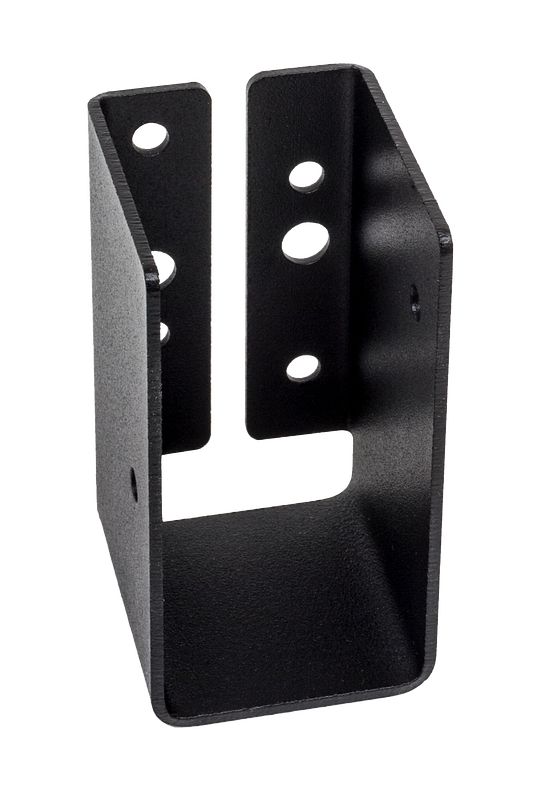
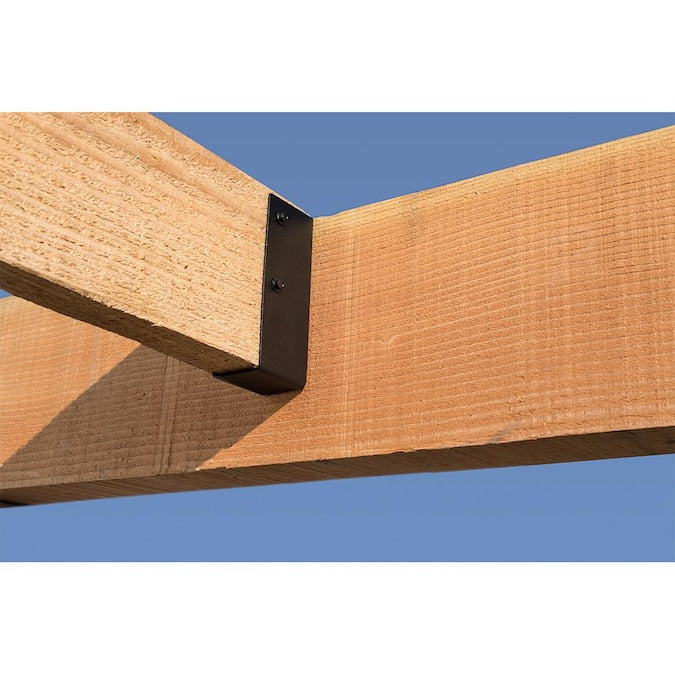
Once you've determined the optimal placement, position the hurricane clip to bridge the junction between the truss or rafter and the wall plate. It should snugly fit the contour of the connecting pieces. Once in place, use galvanized nails to secure the clip. The number of nails required can vary based on the clip's design but always follow the manufacturer's recommendations. Remember to drive the nails through all the designated holes in the clip, ensuring a tight and firm connection.
Consistency: Maintain Uniformity in Installation
As you proceed with the hurricane clip installation, it's essential to maintain consistency. Ensure each clip is equidistant from the previous one, offering uniform protection across the structure's expanse. This ensures optimal performance of the clips and presents a neater, more professional appearance.
Inspect and Double-Check: Ensure Complete Security
Once all the clips are in place, it's crucial to inspect each one thoroughly. Ensure every clip sits flush against the wood and there are no gaps or misaligned nails. An adequately installed clip should feel sturdy and show no signs of movement when gently tugged. Any loose or improperly seated clips should be resecured immediately to guarantee the best protection during storms.
Choosing Quality: Opting for Simpson Strong-Tie Connectors
When it comes to building safety, particularly in hurricane-prone areas, selecting top-tier materials and connectors is crucial. Simpson Strong-Tie connectors are known for their robust quality and durability. These connectors have been meticulously crafted to meet stringent standards and have built a reputation in the construction industry for their unparalleled performance. Considering this brand can make a marked difference in the structure's resilience when initiating the installation of hurricane clips.
Another key aspect to consider during installation is how well the chosen connectors integrate with the building's existing infrastructure. Simpson Strong-Tie connectors are designed to be versatile, ensuring a seamless fit with various architectural designs and structural components. Their adaptability means they can be utilized in multiple projects, from new constructions to renovations. By ensuring a harmonious integration between the connectors and the building's components, one can enhance the overall structural integrity and bolster the building's defenses against the mighty forces of nature.