When it comes to constructing a solid and stable floor structure, proper installation of floor joist hangers is essential. Floor joist hangers are crucial components that provide support and stability to the floor joists, ensuring the structural integrity of the entire building. Whether you're working on a new construction project or renovating an existing space, understanding the correct installation process for floor joist hangers is vital. In this guide, we'll walk you through the step-by-step procedure to ensure a secure and reliable installation.
Tools and Materials You'll Need
Before you begin the installation process, gather all the necessary tools and materials to ensure a smooth workflow. Here's a list of items you'll need:
Measure and Mark
Begin by measuring the layout of your floor joists and determining the locations where the floor joist hangers will be installed. Place the hangers along the rim joist, ensuring they're spaced according to the building code requirements. Mark the precise locations for each hanger with a pencil.
Attach Rim Joist Hangers
Start by attaching the rim joist hangers to the ledger board or the supporting beam. Position the hangers so that the bottom flange rests flush against the ledger or beam, and the side flanges are perpendicular to the ledger. Use a level to ensure the hangers are perfectly straight before securing them in place.
Install Joist Hangers
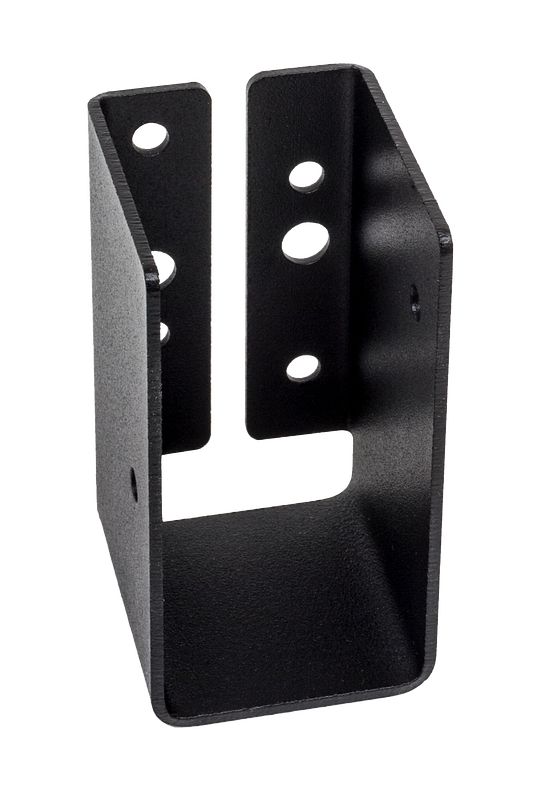
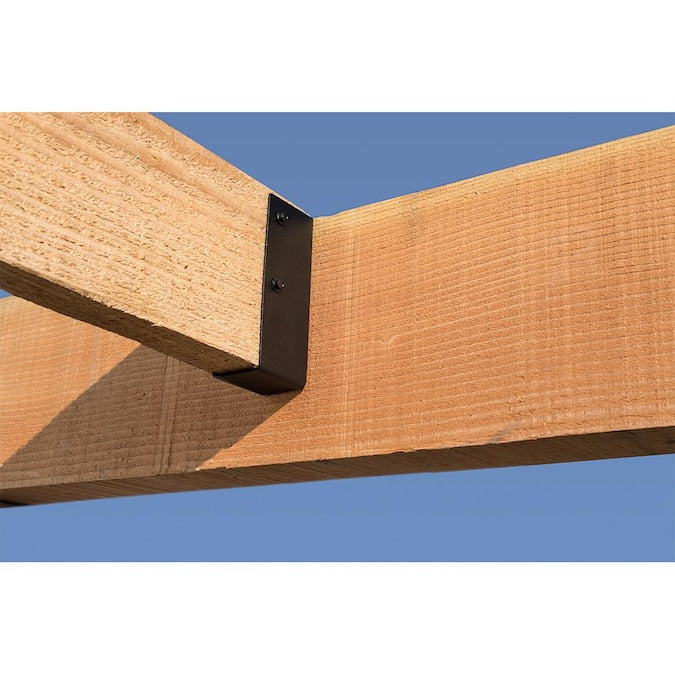
With the rim joist hangers in place, it's time to install the joist hangers. Slide each joist hanger over the edge of the rim joist, making sure the top flange is level with the top of the joist. The hanger should cradle the joist securely.
Secure the Hangers
Once the joist hangers are positioned correctly, secure them using joist hanger nails or structural screws. It's recommended to use the fasteners specified by the hanger manufacturer, as they are designed to provide optimal strength. Drive the nails or screws through the holes in the hanger's flanges, ensuring a tight and secure connection.
Check for Level
Regularly check the level of the joists as you proceed with the installation. This step is crucial to maintain the overall stability of the floor structure. Adjust the joist hangers as needed to ensure that the joists are level and aligned with the layout markings.
Complete the Installation
Continue installing the remaining joist hangers following the same steps. Double-check the alignment, level, and stability of each hanger as you go. Once all the hangers are in place and securely attached, you've successfully installed the floor joist hangers.
Tips for a Successful Installation
Always adhere to local building codes and regulations when installing floor joist hangers. These codes dictate the spacing, size, and fasteners required for a safe and compliant installation.
Choose high-quality joist hanger nails or structural screws recommended by the hanger manufacturer. Using the right fasteners ensures a secure and durable connection.
Keep the spacing between the joist hangers consistent for uniform load distribution. Inconsistent spacing can lead to an uneven and unstable floor.
After installation, periodically inspect the floor joist hangers for any signs of damage, corrosion, or movement. Address any issues promptly to prevent structural problems down the line.
If you're unsure about any aspect of the installation process or if your project requires complex structural modifications, consider consulting a professional contractor or structural engineer.
Properly installing floor joist hangers is a critical step in creating a strong and stable floor structure. By following these steps and guidelines, you'll ensure the safety, longevity, and reliability of your building's foundation. Remember to prioritize precision, quality materials, and adherence to building codes to achieve the best possible results.