Replacing a deck post is essential for maintaining the stability and safety of your deck. Learning how to replace deck post correctly will make sure your deck stays secure and functional. This DIY guide will walk you through each step, guaranteeing a smooth and successful replacement process.
Materials Needed
Before you begin, gather the necessary tools and materials to make the job easier:
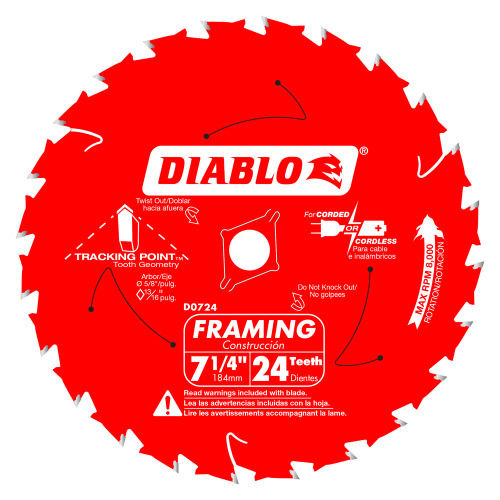
- Reciprocating saw blade
- Drills and accessories
- Carbide drill bits
- Post caps
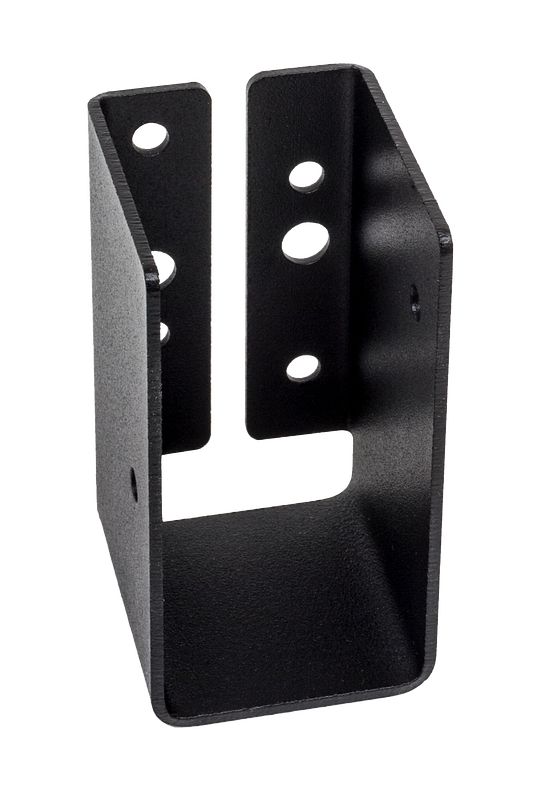
- Post bases
- Safety gloves and goggles
How to Replace Deck Post
- Inspect the Existing Post
Start by thoroughly inspecting the deck post you plan to replace. Look for signs of rot, warping, or cracks. If the damage is minimal, you may only need to reinforce the post. However, if the post shows significant damage or instability, replacing it as soon as possible is crucial to prevent further structural issues with your deck.
- Remove the Old Post
Once you’ve decided to replace the post, use a reciprocating saw blade to cut through the nails or screws holding it in place. Be careful during this step to avoid damaging the surrounding deck structure. After cutting, carefully pull the old post out of its base. If it’s stuck, gently wiggle it back and forth until it loosens.
- Clear and Inspect the Post Base
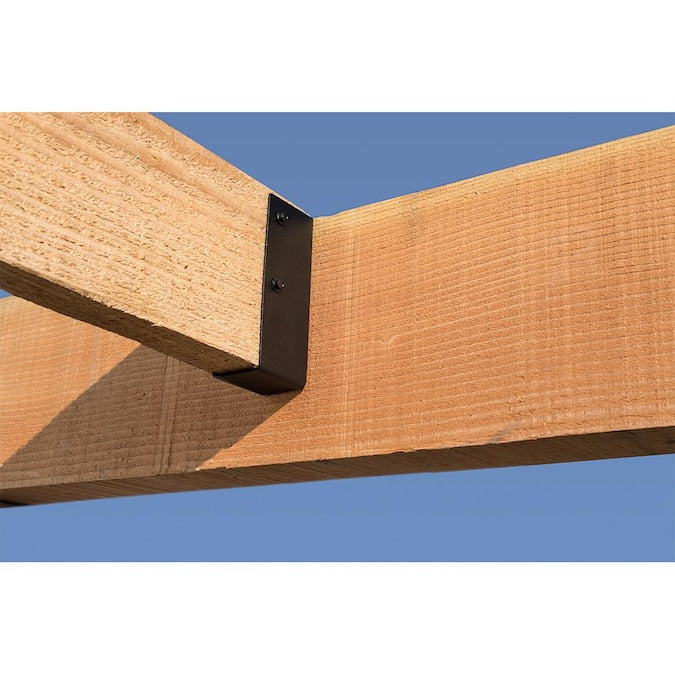
With the old post removed, inspect the post base. Post bases support the weight and alignment of the post, so it’s necessary that they are in good condition. If the base is rusted or damaged, replace it with a new one to guarantee the longevity of your deck. Post bases also prevent direct contact between the wood and the ground, reducing the risk of moisture damage.
- Prepare the New Post
Measure the old post’s length, making sure the new one is cut to the same dimensions. Use a saw for cutting and a square to guarantee the cuts are even. Pre-drill holes in the new post using carbide drill bits. Pre-drilling prevents the wood from splitting when you secure it to the base. Be sure to wear safety gloves and goggles during this step for protection.
- Install the New Post
Carefully place the new post into the post base. Align it with the existing deck structure so that it’s straight. Secure it with appropriate screws or bolts, using a drill to tighten them firmly into place. Double-check that the post is level both horizontally and vertically. Post stability is crucial for deck safety.
- Add Post Caps
To further protect your deck post from weather-related damage, install post caps. Post caps are an essential finishing touch as they prevent moisture from penetrating the top of the post, which can lead to rot over time. They also give the post a polished, finished look that enhances the overall appearance of your deck.
Perform a Final Inspection
After securing the new post and adding post caps, take a moment to inspect your work. Assure the post is level, straight, and firmly attached to the base. Apply light pressure to test its stability. If everything feels secure, your deck post replacement is complete.
Replacing a deck post doesn’t have to be complicated. By following these steps, you can learn how to replace a deck post with confidence and keep your deck safe and sturdy. At Factory Direct Supply, we offer the materials you need, like reciprocating saw blades, carbide drill bits, post bases, and post caps, to help you complete your project with ease.


